Showing posts with label Classes. Show all posts

Friday, September 9, 2011

Join Me on Wednesday, October 26th at Treasured Memories!

Please join me for my new Halloween Class Wednesday October 26 at Treasured Memories. I will make up some extra kits, so if you'd like one just email me at lisabarrie@Live.com. Click on any photo to make them bigger!


Step 1.  I opened a moon image in Photoshop and got rid of the black sky background, next I and printed it on Prima Printery 12 x 12 paper (I have the Epson 1400). In Photoshop I adjusted the placement of the moon image to the upper left hand corner.

Step 2. With the Cricut, I cut out a decorative square shape from Prima printery paper and added it to my page along with another strip that I punch the end of.
Step 3. I added a die-cut of a Halloween tree.
Step 4. I have my basic layout, now it's time to start adding some elements. I take one of the perfume bottles from my set I designed (they are available here on my blog) and I want to make it shorter but I can't cut off the bottom or the top because of the shape. So I cut out the center and glue the two ends together with some Elmer's white glue. You can see the cut line right below the neck if the bottle.
Step 5. I traced the shape of the bottle on another piece of Prima paper and I cut it out and glued it to the chippie bottle. While the glue is wet and the paper is softened a took my fingernail and gently bent the edge of the paper around the side of the bottle so it perfectly wraps around the chippie shape. Next I printed a potion label from the Internet and glue it to my bottle. Then, I wanted to create some shadows to give the die-cut some dimension. I used a fine black pen and added some pen and ink type shadowing. The last step was to cover the bottle (except the label) with Glossy accents.
Step 6. I gather up all the elements I want on my page and now I spray the page with Sweet Cover, Tuscan Sun and Walnut Gold glimmer mist. To finish the background I flick some diluted black paint to create splatters. (Sorry the pictures not great).

Step 7. As you can see, too much of the moon would have been covered up by a photo and the mats. So I reversed the layout and put the tree on the left side, creating a silhouette against the moon (I lay everything out before I start gluing to make sure I'm happy with the complete design). Now I start adding all the elements to the page including the photo mats, elements from the Printery papers, the bottle, some Graphic 45 basics, a Jolee's Halloween key sticker, some Making Memories glitter foam stickers and a few Prima leaves.

Step 8. I finish the page by inking the edges with black soot and vintage photo distress inks. I add some rub-ons and I cut a haunted garden gate. The last step is just to add a title and photo. I altered a full color photo in Photoshop and chopped it to give it a haunting look!

I think that's about everything.

Friday, July 29, 2011

Please join me for my September 14th Class at Treasured Memories!


Hi Ladies,
Here are the step by step instructions for page 2.
1.Cut background paper with deckle scissors (as with page 1) Wipe edge with white paint dauber.
2.White print paper 1/4 inch smaller all the way around. (11 1/2 x 11 1/2 approx) Splatter background with blue paint as demoed in class. (it's ok to skip this if you don't have paint)
4.Next you will layer the 4 background papers as shown. a.Starting at the top the black polka dot (2.1/2 x 7 1/2) in the center. b. To the left the news print with white flower (1 1/2 x 6.) c. Next the brick acetate layer over the newsprint (2 x 6). d. Beige polka dot print 2 3/4 x 5 1/2. 5 place the blue flower in the bottom right of the grouping, you may want to line up your photo and mat first to make sure of the position. 6. Add flower sticker. 7 add round sticker over lapping the blue flower. If you look at the photo you can see that it is under the photo and hangs a bit lower than the blue flower. you can leave the backing on the sticker to get the position right. 8. add photo and mat. The mat is 1/2 inch wider and longer than your photo. place your photo as shown. 9. add paisley sticker. 10 Add wood Arrow. 11. Cut banner from any scrap by like and add under arrow. Cut two more banners and add them over circle sticker. 13 Add any sticker in the "dare to dream" sticker spot. Be creative you have a whole sheet to choose from! 14. Cut the end off the polka dot strip from the kit to form a banner, my finished length is about 4 1/2' (You can add another title here if you want) 15. add pointing finger. 16 add acetate flower! 17.Cut a banner 2" long and layer in the top left corner of black polka dot as shown. The last step is to cut out two flags like we did in class, (mine are 2 1/2 and 1 1/2") use any scrap to create a thin flag pole and top with silver stickers from the kit! and Voila your done!! Great Job! You did it!!

I've been wanting to scrap this picture of my DD for a year now and when I saw this paper line from Basic Grey I knew it would be perfect. I love the Pink Paislee wood pieces which I left raw because it just seemed right. I used the deckle scissors around the edges, I love the uniform torn look and if you only want to take off a tiny amount you don't have to worry that you'll tear too much off. I Added a little gesso to the background paper to make it a little bit whiter.
The little acetate flowers are handmade. Photos by Monica Teurlings.
I made these acetate flowers and leaves on the Cricut maching using the Cartridge Accent Essentials and deep cutting blade at medium speed. It cuts the plastic really well, I have the .007 thickness. I cut the paper flowers next using the same design and layered it with the acetate flowers. They are dyed with alcohol inks watermelon and sail and the edges are frosted with a little white acrylic paint to help them stand out a little more. The centers are Prima SIIP and some stick on pearls.

 To get a really strong crackle I first painted the wood piece with acrylic paint. I happen to use Claudine Hellmuth but I don't think that really matters. Next I spread a layer of Elmer's glue over the semi dried paint and let it dry almost completely. Last I paint on crackle paint by Tim Holtz this is Picket Fence (white) and let it air dry completely. I don't use a heat gun because it seems to change the amount of crackle I get.

Saturday, June 18, 2011

New Class Coming Up Thursday, July 14th at Treasured Memories!


Here's the new layouts I did for my next class coming up in July. I used this Dusty Attic dress form again. I used it last year and I had cut off the bottom to make it a bit more sassy. This longer version is perfect for this vintage LO. I use the Cricut elegant cake cartridge for some of the shapes and borders on this page, they are awesome. I love how different they are. The second page featured heartfelt stamps that I painted with glimmer mist. I just spray it on a craft mat and use a small paint brush to color in the area. Make sure you use a solvent based ink like Staz-on when you want to watercolor it. I'm planning on doing a tutorial of some of the chipboard finishes I make so check back soon. (P.S. Photos are by Monica Teurlings to see her gallery use button on the left.)

Thursday, June 16, 2011

UTEE Flower Tutorial


See below the video of the finished book for my up coming class on July 30th.

August 20th Class at Treasured Memories


This is a "Summer Travel Journal" I made for Treasured Memories in Oak Park, CA
I will be there July 30th from 10am-5pm. This book feature Fancy Pant's line "Beach Babe" such an adorable collection of papers. It's load with lots of bright colors that I just love working with. In the class we will cover tons of techniques like dipping Prima flowers and chipboard pieces in UTEE, canvas painting, acrylic clear tags, brown paper envelopes and lots more. Hope you can make it but if you can't the kit will be available at Treasured Memories to purchase.

Saturday, May 28, 2011

New class June 23rd

Here is the finished layout for my sketch class. We will all do the some sketch but I'm looking forward to seeing all the different paper you guys bring in. REMEMBER you can do as many pages as you want and we will review how to modify the sketch for multiple pages and photos.

Monday, January 10, 2011

Be back in a few weeks!

Taking a break and I'll be back teaching in May. I can't wait to see all the goodies coming out for CHA, it's like Christmas. I was just over at Tim Holtz's blog. (Happy Birthday Tim!) and I can't wait to see all the magical goodies he has been conjuring up. Our Vagabond machine should be arriving soon and I can't wait to play with it. I am so excited about all the wonderful things we will have coming up at Treasured Memories including launching a new web site. We have a very talented design team there and I am looking forward to sharing the fun things the girls and I have planned. See you soon.
Lisa

Wednesday, December 8, 2010

I'm Returning March 8th to Treasured Memories!


It's hard to believe I've just finished the LO for my first class of 2011. I love these papers from Basic grey curio line. The bIack edges are really striking and I added a bunch of glimmer mist including suede, sweet clover (limited edition) and Tuscan sun to enhance the background, it made everything so much richer. I added chandelier glimmer glam to the frame on the inspire yourself page, wow what a difference! I've used some new products on this one (new for me anyways) it's the basic grey Ribbon doilies. I love how it really looks like fabric because you get a gathered effect when it's all attached. It's a little work though getting all the tiny cut out bits separated, I found taking a paper towel and sticking it down and pulling it up worked best. The other advantage is it's a lot thinner and flatter then real lace. I tried to spray it with some glimmer mist but it really didn't absorb any of it I think distress ink would work better if you wanted to alter the color.

Tuesday, December 7, 2010

Featured on Websters Pages Blog!


                           I was thrilled to learned that Webster's Pages had Featured my layout for the weekly banner and quarterly winner. I received an awesome box of goodies, thanks Webster's Pages. I am such a fan of their products and I really enjoyed teaching this layout last week at Treasured Memories. Next time you use black cardstock try a little stiletto glimmer glam it makes it look like black silk, love it!!!

Wednesday, October 20, 2010

Thursday, October 14, 2010

November 8th class at Treasured Memories

Pretty in pink seems to be perfect for this fall layout, not exactly traditional.


It's hard to tell in these photos but there are lots of layers going on with this paper piecings. I used 1, 2 and 3 layers of pop-dots to elevate the different pieces with a lot of inking to make each layer stand out. In class we'll be making a ornate plate and filling it with something special. Hope to see you there!


Thursday, October 7, 2010

New Glimmer Glam Review!

Well I bought some of the new glimmer glam and glimmer glaze. I had watched the tutorials and frankly the tattered angels video was a bit ridiculous. In the video they demoed the product by spilling it on the paper and wiping it off with a paper towel. Seriously, why would I buy expensive product only to have it all end up on a paper towel. So forgetting everything I saw, I started out with the new Pink Paislee Parisian Anthology line I love all the resists designs, perfect right. Here's what I learned. 1. The product is fabulous! 2. Glimmer Glam is wonderful for painting with a paint brush, I use the Claudine Helmuth set. I simply painted the paper top to bottom in even strokes coming directly out of the bottle. The Glam just glides on and creates a beautiful pearlized finish. For my background paper I used Espresso (dark brown)with Hayride (Golden with green metallic) over the top. You can see in the photo it is so rich and creates enormous depth on the basically white paper. The photo mat paper is Lime Ricky from Basic Grey I went over the whole page with Mermaid glimmer glam. Wow so rich I love the effect. For the dollies sheet of paper (behind the gate) I simple painted on walnut gold glimmer mist. It is fine but no where the punch of the glimmer glam. 3 Next I used the glimmer glaze. Very different product. I like it very much. It comes with a very small nail polish like brush for I would suggest using it as a highlighter almost like you would use stickles. I used it on the edge of the flowers. So, I am ordering a bunch of Glimmer Glam and I will get some of the Glimmer Glaze but I have to say I love painting my paper with the stuff. *****Five stars for Glimmer Glam and *** stars for Glimmer Glaze. Hugs!

Thursday, September 30, 2010


Hi Ladies, Thanks for waiting!

On page 1 after you finish painting the background the next step is to paint or stickle the little white buds on the branch. Any flower color will do, red, purple, magenta etc. After coloring the buds attach the UTEE dipped roses with glue dots (cut the wires off). Set the branch aside and paint the grungeboard hinges with antique bronze crackle paint. Ink over the top of the air dried hinges with chestnut roan and add some black along the edges. Attach with mini brads. Add the 4 pearls to the page. You can now glue dot the branch onto the page. Attach the bling to the lower right corner of the frame and stick the large 3 layer flower over the top. ** To complete the flower after dipping layer the 3 flowers together and heat the flowers to allow the to melt together. Place the glass pebble in the center and while applying a little heat with the heat gun, press down slowly to lower the center of the flower.** and the small flower goes in the opposite corner with a rhinestone in the center. To complete the paper butterfly, cut a thin strip of pop dot foam the size if the butterfly body and attach the 2 pieces together. One on top of the other. use stickles along the body and along the wings. You can use a little left over bling or gold stickles to create a little trail. Lastly, distress ink the edges of the page any brown or plum color is fine. Remember to use your craft mat when you use the distress inks, you get a much nicer result. Use the journaling area to write whatever you want with a brown marker and that's it for page 1.

Paint color list for class.

Here is a list the paint colors I have used for the class. I order them from an online store called jerrysartarama.com The colors are Bright rose, Violet, Crimson lake, Hookers green, Magenta, Lemon yellow, Burnt sienna, and Burnt umber. You can order very small tubes because you use just a tiny drop and you have your own plastic palate now too. Order these color in any artist quality paint brand. They generally only sell that quality in fine art stores. Not Michael's or Joann's. I found that there is a big difference in the vibrancy of the pigments but choose whatever fits your budget. Set are available too. **Note: Christine just order a limited number of the paintbrush sets that I use (they are awesome and reasonably priced) so feel free to give her a call and have her put one aside for you.

Tuesday, September 21, 2010

New October 7th Class Featuring "Dreamer"


I'm really excited to post the layouts for my new class and kit at Treasured Memories. If you'd like a Kit please leave me a comment. I just love this Paper Crate line "Restoration" It was so easy to work with and such gorgeous colors. It all worked perfectly with Monica Teurlings new photos of my DD.
On this layout to give it a little more vintage look I added a little paint splatter with the butterfly stamp over the top. The flowers are new Prima blooms that I pulled out the centers and added the fabric brads, from the line, and layered them with some cut out doilies from one of the pattern papers.

Thursday, July 29, 2010

Country Girl


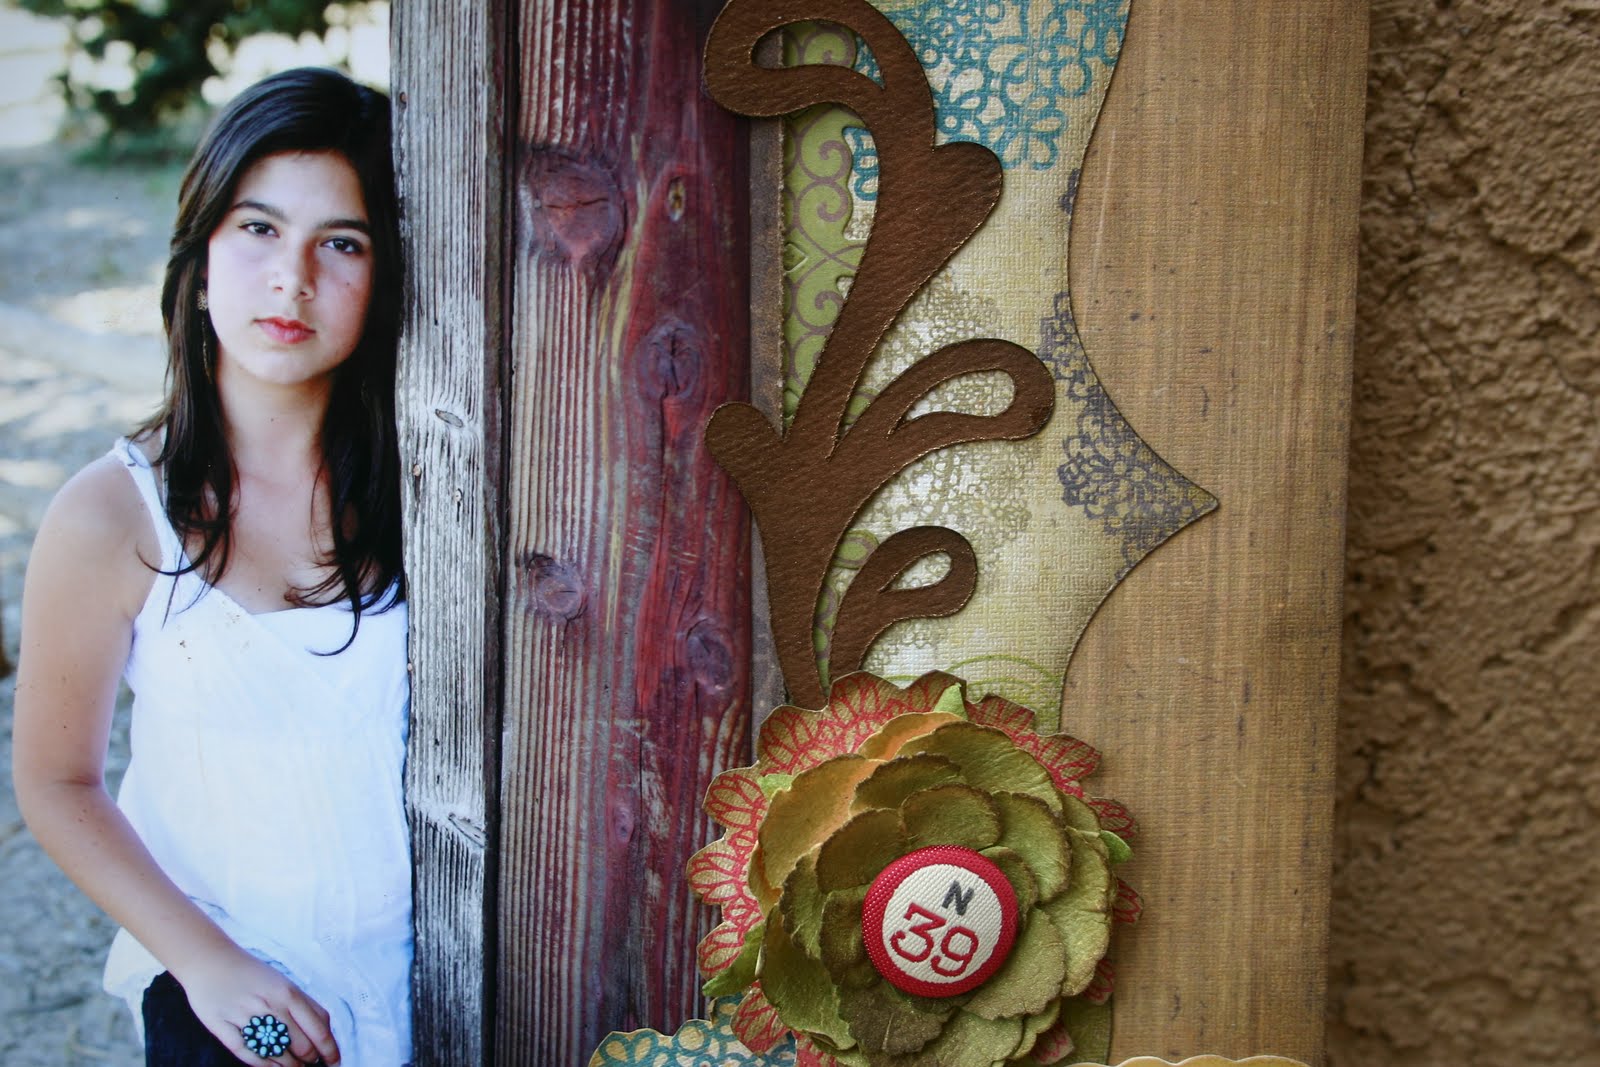
Here are the new layouts for my class in September at Treasured Memories in Oak Park, CA. I had taken these photos of my daughter at Paramount Ranch near Malibu beach. They have a wonderful rustic country feel and I wanted to do a layout that featured a silver concho belt. Gabi P had done a wonderful faux stone tutorial on her blog Such a pretty mess back in January and I have been wanting to use her technique ever since. If you would like to sign up for my class or purchase a kit with everything needed for both pages and step by step instructions, please call the store at 818-889-6639 They are $38.00 plus shipping. Or email Christine@treasuredmemoriesca.com and tell her you would like to order Lisa's September kit (put kit order in the subject line.)